Portable Generator Inspection Checklist: Ensure Safe and Reliable Use
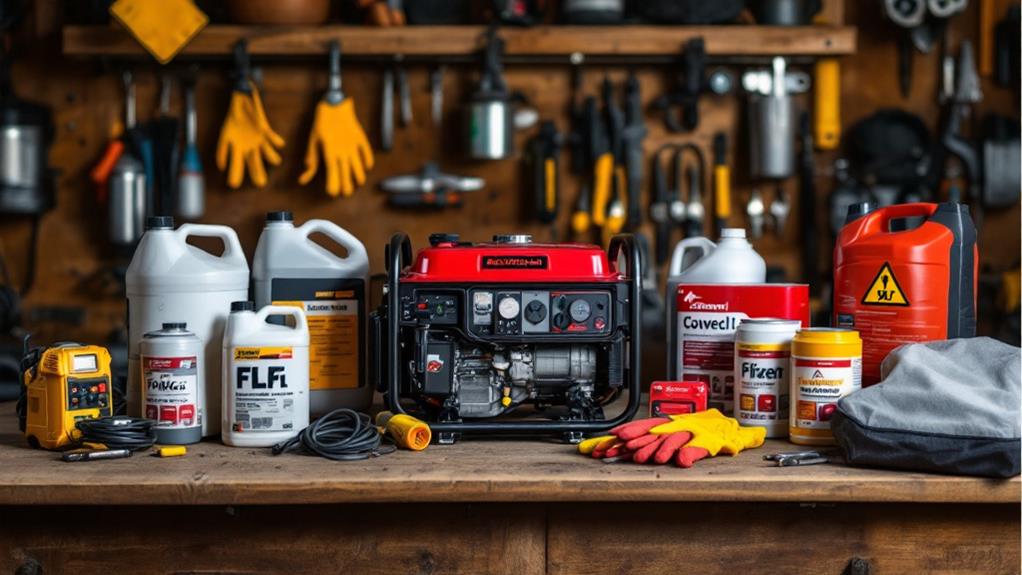
To guarantee your portable generator operates safely and reliably, follow a thorough inspection checklist. Start with a visual examination for damage, rust, or leaks. Check the fuel system, including the tank, lines, and filter. Assess electrical components like the alternator, voltage regulator, and wiring. Perform engine maintenance, including oil changes and spark plug replacements. Verify safety features such as grounding and emergency shut-offs. Finally, conduct an operational test to check performance under various loads. By regularly inspecting these key areas, you'll keep your generator in top condition and ready for use when you need it most. Learn more detailed steps to maintain your generator's peak performance.
Visual Inspection
Every portable generator inspection should begin with a thorough visual check. Start by examining the generator's exterior for any signs of damage, rust, or corrosion. Look closely at the fuel tank and lines for leaks or cracks. Inspect all electrical connections, verifying they're tight and free from wear or fraying. Check the air filter and exhaust system for blockages or damage that could affect performance.
Don't forget to assess the battery condition if your generator has an electric start. Look for signs of corrosion on the terminals and make sure the battery is securely fastened. Validate that all safety features, such as ground fault circuit interrupters (GFCIs) and automatic shutoff switches, are intact and operational.
Consider storage considerations during your visual inspection. If the generator has been stored for an extended period, look for signs of pest infestation or moisture damage. Check for any fuel residue or oil leaks that may have occurred during storage. Guarantee all caps and covers are in place and properly sealed to prevent debris from entering critical components. By conducting a thorough visual inspection, you'll catch potential issues before they become major problems.
Fuel System Check
After completing the visual inspection, turn your attention to the fuel system. This critical component guarantees your generator operates smoothly and efficiently. A thorough fuel system check involves examining various parts and conducting a fuel flow assessment.
Begin by inspecting the fuel tank condition. Look for any signs of damage, rust, or leaks. Check the fuel lines and connections for cracks, loose fittings, or deterioration. Don't forget to examine the fuel filter for clogs or debris that could impede fuel flow.
- Inspect the fuel tank for damage or leaks
- Check fuel lines and connections for wear or loose fittings
- Examine the fuel filter for clogs or debris
- Test the fuel shut-off valve for proper operation
If you're comfortable, perform a fuel flow assessment by starting the generator and observing how smoothly it runs. Listen for any sputtering or irregularities that might indicate fuel delivery issues. If you notice any problems during your fuel system check, it's best to consult a professional technician for repairs or replacements to guarantee your generator's safe and reliable operation.
Electrical Components Assessment
Moving on to the electrical components, you'll need to carefully assess the generator's power-producing elements. Start by examining the alternator, which converts mechanical energy into electrical power. Check for any signs of wear, damage, or loose connections. Inspect the voltage regulator to guarantee it's functioning correctly and maintaining a stable output.
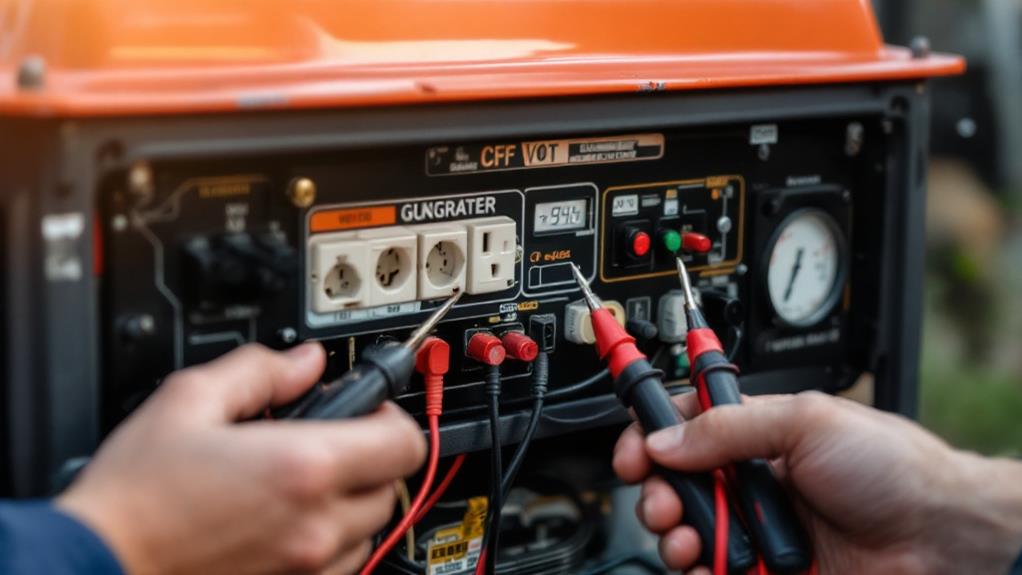
Next, evaluate the wire condition throughout the generator. Look for frayed, cracked, or exposed wires that could pose a safety hazard. Pay close attention to the insulation integrity, as compromised insulation can lead to short circuits or electrical fires. Examine all electrical connections, including outlets, switches, and circuit breakers, tightening any loose components.
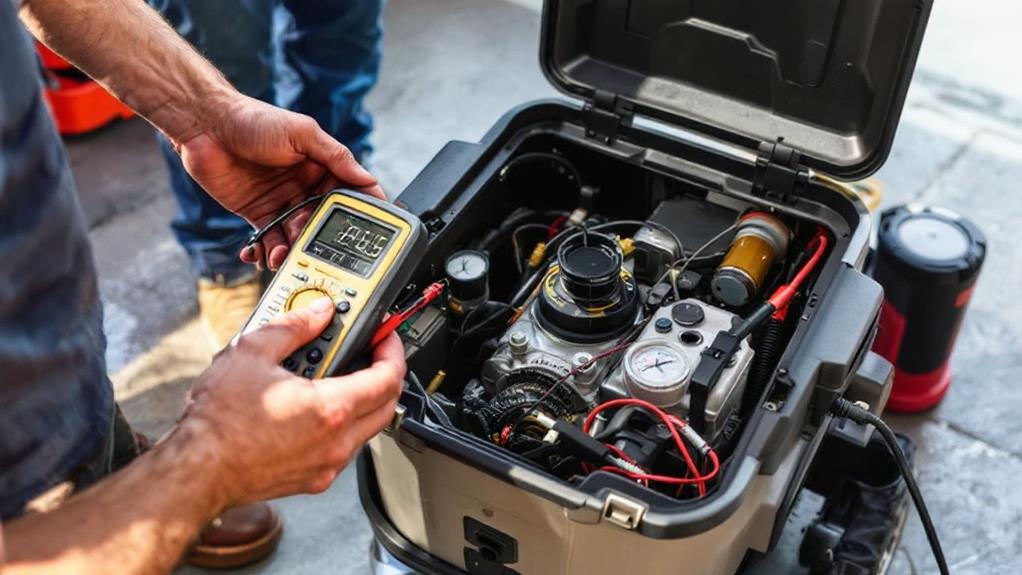
Don't forget to test the ground fault circuit interrupter (GFCI) outlets if your generator is equipped with them. These safety devices should trip when detecting a ground fault. Inspect the control panel for any damage or malfunctioning indicators. Finally, use a multimeter to verify the generator's output voltage and frequency are within the specified range. If you're not comfortable performing these electrical assessments yourself, it's best to consult a qualified technician to confirm your generator's electrical components are in proper working order.
Engine Maintenance
The engine is the heart of your portable generator, and regular maintenance is vital for its longevity and performance. To keep your generator running smoothly, you'll need to perform routine engine maintenance tasks. These tasks include checking and changing the oil, replacing the spark plug, cleaning or replacing the air filter, and inspecting the fuel system.
- Oil change: Check the oil level before each use and change it according to the manufacturer's recommendations, typically every 50-100 hours of operation.
- Spark plug replacement: Inspect the spark plug for signs of wear and replace it annually or after 100 hours of use.
- Air filter maintenance: Clean or replace the air filter every 25-50 hours of operation to guarantee proper air intake.
- Fuel system inspection: Check fuel lines for cracks or leaks, and clean the fuel filter as needed.
Don't forget to consult your generator's manual for specific maintenance intervals and procedures. By following these guidelines, you'll extend your generator's lifespan and make certain it's ready to provide power when you need it most.
Safety Features Verification
While maintaining your generator's engine is vital, ensuring its safety features are functioning properly is equally important. Start by checking the electrical grounding system. Verify that the grounding rod is properly installed and connected to the generator's frame. Test the connection using a multimeter to confirm continuity.
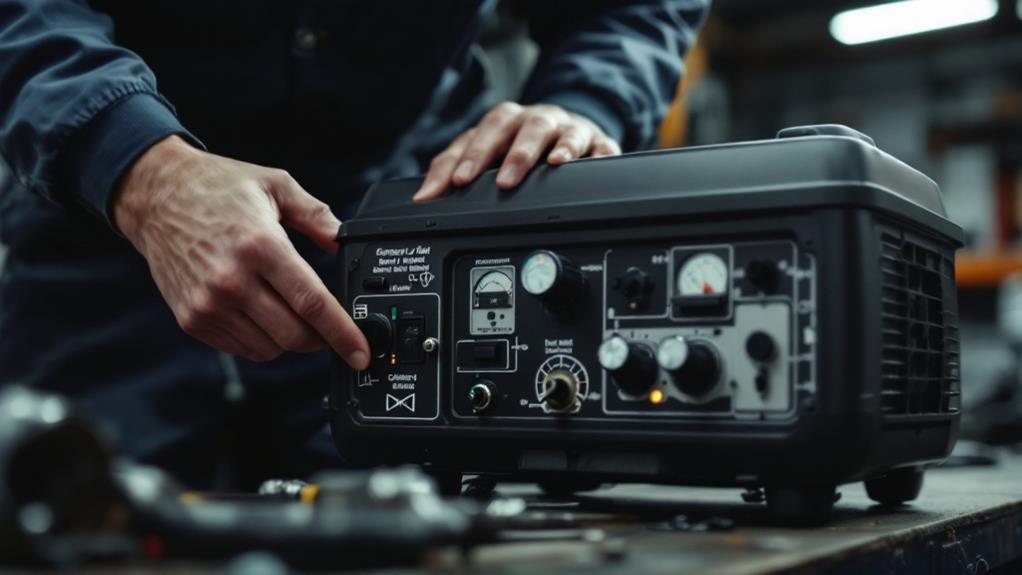
Next, inspect all emergency shut off mechanisms. These include the main power switch, circuit breakers, and any automatic shutdown features. Test each one to ensure they operate smoothly and cut power when activated. Pay special attention to the low-oil shutdown feature, which protects the engine from damage.
Examine the generator's housing for any cracks or damage that could compromise its safety. Check that all protective covers are in place and securely fastened. Inspect the fuel system for leaks, including the tank, lines, and connections.
Don't forget to test the carbon monoxide detector if your generator is equipped with one. Replace the batteries if needed and guarantee it's functioning correctly. Finally, review the placement of warning labels and replace any that are missing or illegible. These labels provide vital safety information for operators.
Operational Test
After completing all safety checks, it's crucial to conduct an operational test of your portable generator. This step guarantees your generator is functioning correctly and ready for use when needed. Start by placing the generator on a level surface in a well-ventilated outdoor area. Connect a load tester or multimeter to measure the power output accurately.
To perform a thorough operational test, follow these steps:
- Start the generator and let it run for a few minutes to warm up
- Gradually apply different electrical loads to test its load capacity
- Monitor voltage and frequency levels throughout the test
- Check for any unusual noises, vibrations, or exhaust issues
As you test, verify that the generator maintains stable power output within its rated capacity. Pay attention to how it handles varying loads, ensuring it doesn't struggle or shut down unexpectedly. If you notice any irregularities in performance, such as fluctuating voltage or inability to handle rated loads, it may indicate a problem that requires professional attention. Remember, a successful operational test gives you confidence in your generator's reliability during emergencies or power outages.
Related posts