Science Projects You Can Do at Home Using Common Household Items
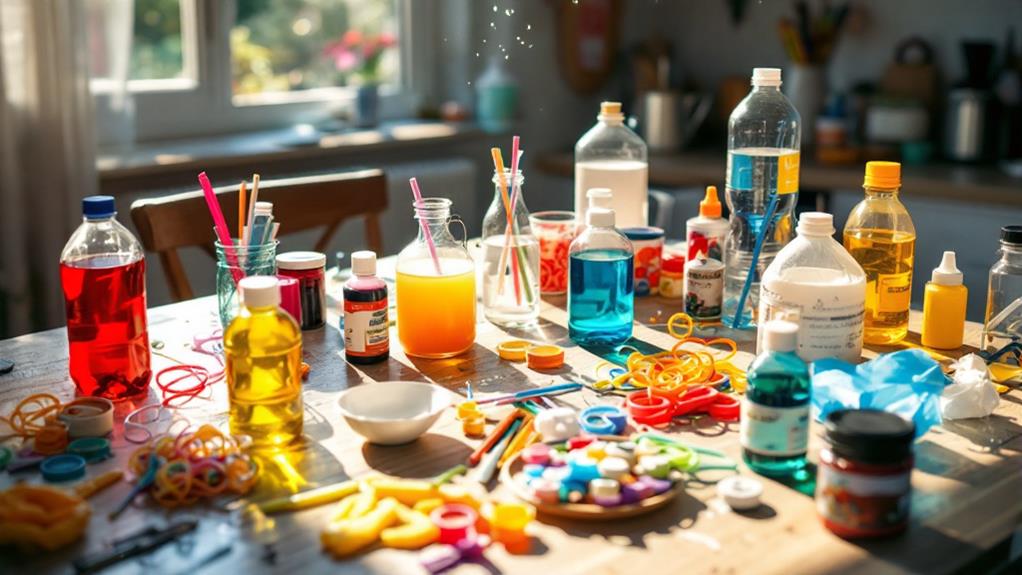
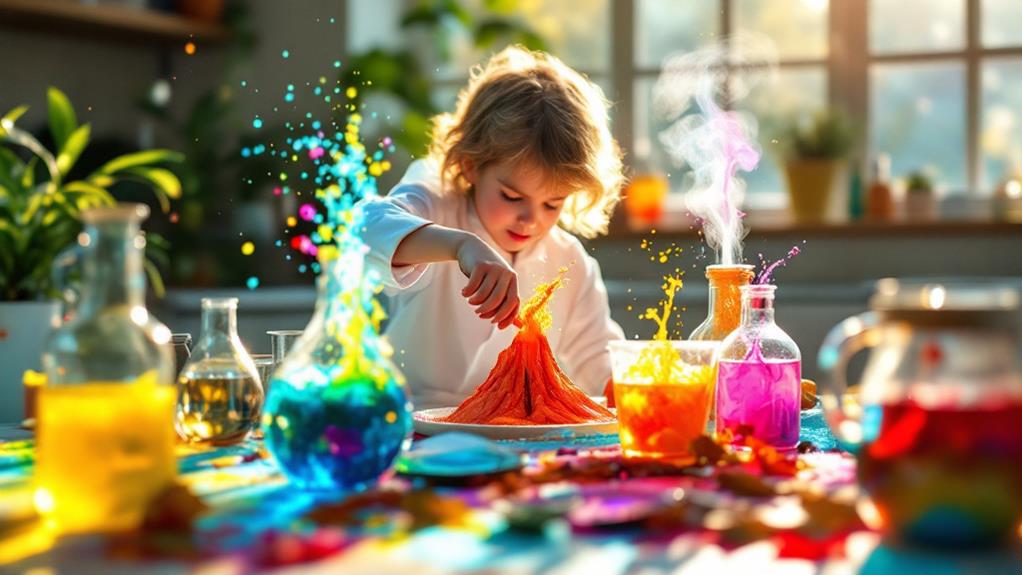
Investigate the wonders of science with simple experiments using items you likely have at home! Create a homemade volcano with baking soda and vinegar for a fizzy eruption. Write secret messages using lemon juice as invisible ink, then reveal them with a little heat. Make a density rainbow in a glass by layering liquids like honey and rubbing alcohol. Propel a baking soda and vinegar rocket and watch chemistry in action. Ultimately, enjoy a magical milk color explosion with milk, food coloring, and dish soap. Each project offers an opportunity to learn and have fun, leaving more to uncover.
Homemade Volcano Experiment
Have you ever wondered how to create a spectacular homemade volcano? It's a fun and educational project that you can easily do with a few simple materials. Start by gathering your volcanic materials: baking soda, vinegar, dish soap, and food coloring. These will help you simulate an eruption with an impressive display.
Begin by shaping your volcano. You can use clay, paper mache, or even a mound of dirt. Make sure to form a hollow center to hold the eruption ingredients. Place a small container, like a plastic cup, inside the hollow to serve as the volcano's crater. This is where the magic happens.
Next, pour some baking soda into the container. Add a few drops of food coloring for a realistic lava look, and a squirt of dish soap for extra frothy lava. Now, for the eruption simulation, pour vinegar into the container. Watch as the mixture bubbles and spills over, mimicking a real volcanic eruption.
This experiment not only demonstrates a chemical reaction but also provides insight into volcanic activity. It's a fantastic way to engage in scientific exploration right from the comfort of your home!
DIY Invisible Ink
Just like creating a homemade volcano brings a bit of science magic into your home, crafting DIY invisible ink offers another exciting way to investigate chemistry. You'll get to examine the world of secret messages using nothing more than lemon juice and a few other simple items. Ready to start your own undercover operation? Let's plunge into it.
First, gather your materials: lemon juice, a small bowl, a cotton swab or paintbrush, and a sheet of white paper. Squeeze some lemon juice into the bowl, then dip the cotton swab into it. Use the swab to write your secret message on the paper. It might seem like you're just making the paper wet, but don't worry—it's all part of the magic.
Once your message dries, it becomes virtually invisible. To reveal it, hold the paper close to a heat source like a lamp or a light bulb. The heat causes the lemon juice to oxidize and turn brown, making your hidden message appear as if by magic. This simple experiment is a fascinating way to learn about the chemical reactions at play, while having fun with secret messages.
Density Rainbow in a Glass
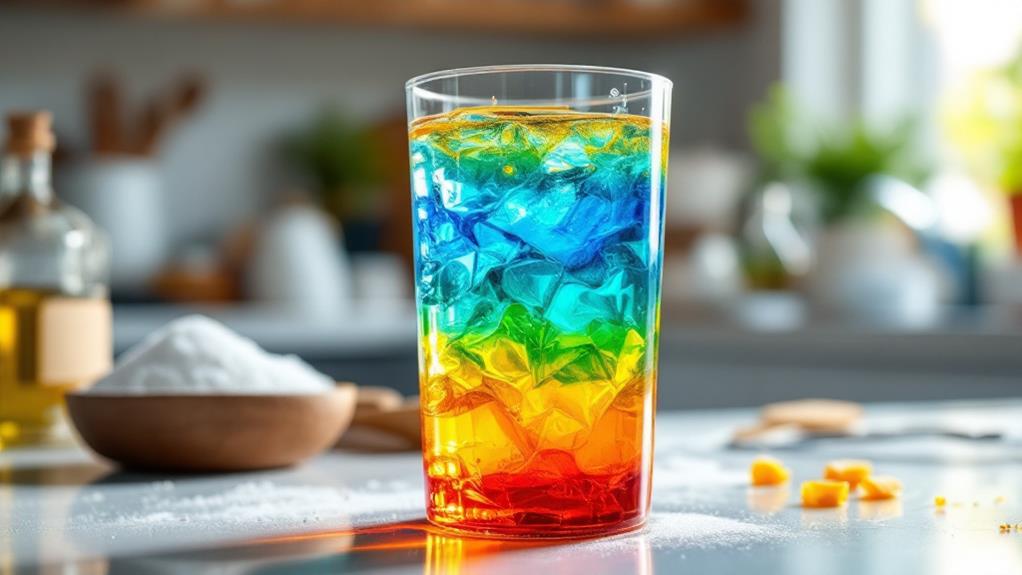
Creating a density rainbow in a glass is an enchanting way to investigate the science of density and buoyancy right at home. You'll need common household items like honey, dish soap, water, vegetable oil, and rubbing alcohol. Each of these liquids has a different density, allowing you to create distinct liquid layers in your glass.
Start by pouring honey into the glass as your initial layer. Next, slowly add dish soap to create the second layer. It's essential to pour gently to maintain the separation. Continue with water, but mix in some food coloring first for a vivid visual effect. Carefully add it over the dish soap. Vegetable oil follows, which will float above the water due to its lower density. Ultimately, mix food coloring with rubbing alcohol and gently pour it on top.
As you observe your creation, notice the color separation between each layer. This visual distinction arises from the varying densities of the liquids, causing them to stack without mixing. It's a mesmerizing display of science that illustrates why some objects float while others sink. Now, you've got a colorful and educational centerpiece right in your own kitchen.
Baking Soda and Vinegar Rocket
Launching a baking soda and vinegar rocket is an exciting hands-on experiment that demonstrates the power of chemical reactions. You'll witness the marvels of rocket propulsion using simple household items. The reaction between baking soda and vinegar produces carbon dioxide gas, building up pressure inside a container until it forces the rocket to shoot up into the air. It's a fantastic way to investigate the principles of chemistry and physics right in your backyard.
Here's what you'll need to get started:
- Empty plastic bottle: This will serve as your rocket's body.
- Baking soda: The base that reacts with vinegar to create the propulsion.
- Vinegar: An acid that reacts with baking soda to generate gas.
- Paper towel or tissue: Used to create a baking soda packet for delayed reaction.
- Cork or rubber stopper: To seal the bottle and allow pressure to build up.
Begin by filling the bottle with vinegar, then wrap the baking soda in a paper towel. Drop the packet into the bottle, quickly seal it with the stopper, and step back. The chemical reaction will generate enough pressure to launch your rocket skyward, showcasing the basic principles of rocket propulsion.
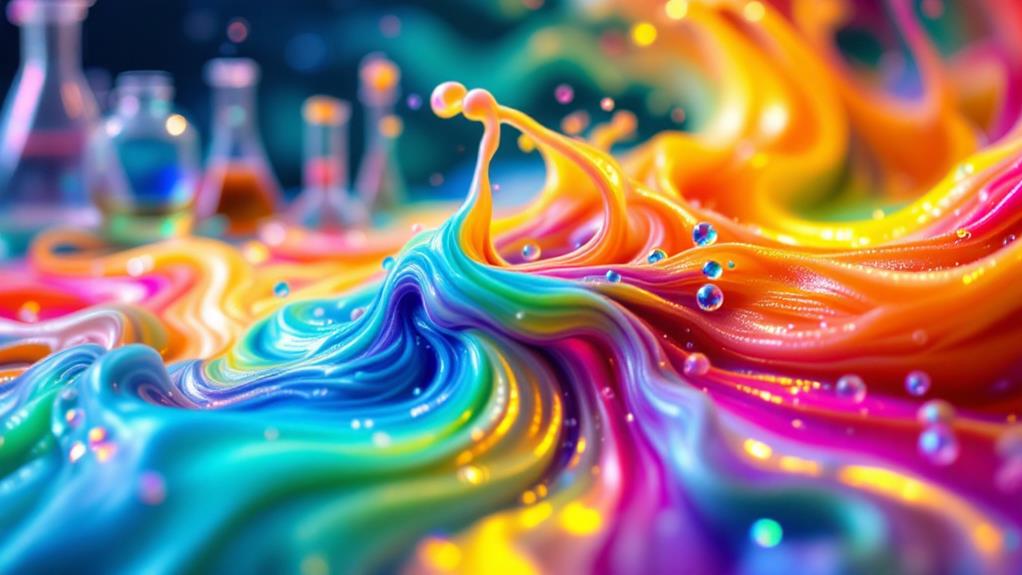
Magic Milk Color Explosion
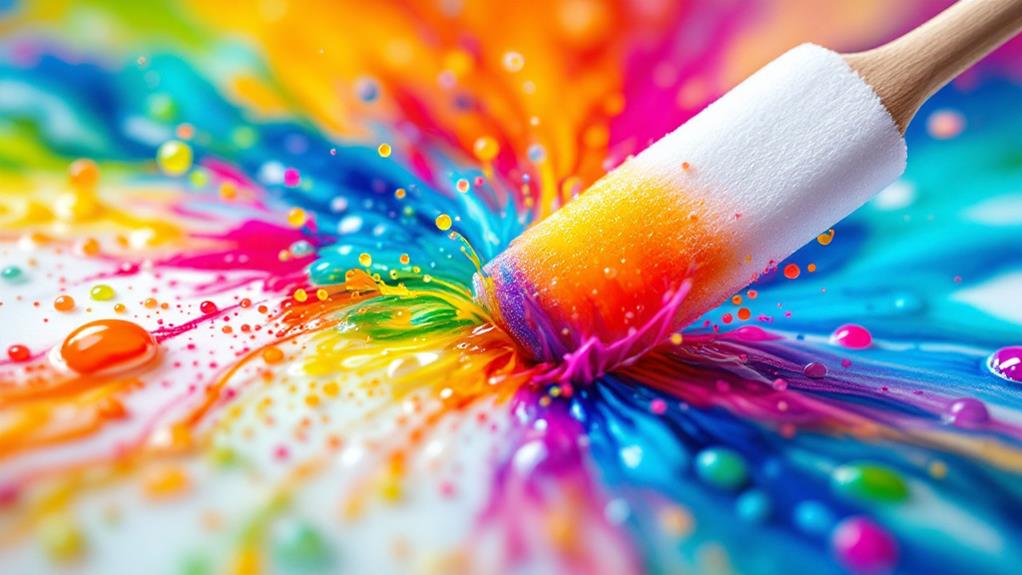
When you're ready to plunge into the world of colorful chemistry, the Magic Milk Color Explosion is a enchanting experiment that combines science with art. You'll be amazed at how simple ingredients can create such stunning displays of color and movement. To get started, gather whole milk, food coloring, dish soap, and a shallow dish.
Pour the milk into the dish, ensuring it covers the bottom. Add a few drops of different food colorings near the center of the milk. Now, here's where the milk chemistry comes into play. Dip a cotton swab in dish soap and gently touch it to the center of the milk. Watch as the colorful reactions unfold before your eyes, creating swirling patterns that resemble a lively explosion.
The secret behind this enchanting display lies in the milk's composition. Milk contains fat molecules that interact with the soap, reducing surface tension and causing the colors to scatter in fascinating ways. This experiment not only showcases the beauty of chemical reactions but also provides insight into how molecules interact. It's a fun, educational activity that brings the wonders of chemistry right to your kitchen table.
Related posts