Simple Science Experiments Kids Can Do at Home: Fun With Learning
You'll love these simple science experiments that bring fun and education together right at home. Create a homemade volcano eruption using baking soda, vinegar, and dish soap to watch fizzy lava roar. Investigate color dynamics with magic milk by combining food coloring and dish soap. Inflate balloons without breath by mixing baking soda and vinegar. Uncover buoyancy with a floating egg in salty water, or make raisins dance in carbonated water. Make secret messages with citrus juice and reveal them with heat. Each experiment provides valuable lessons, offering insight and excitement for budding scientists wanting more.
Homemade Volcano Eruption
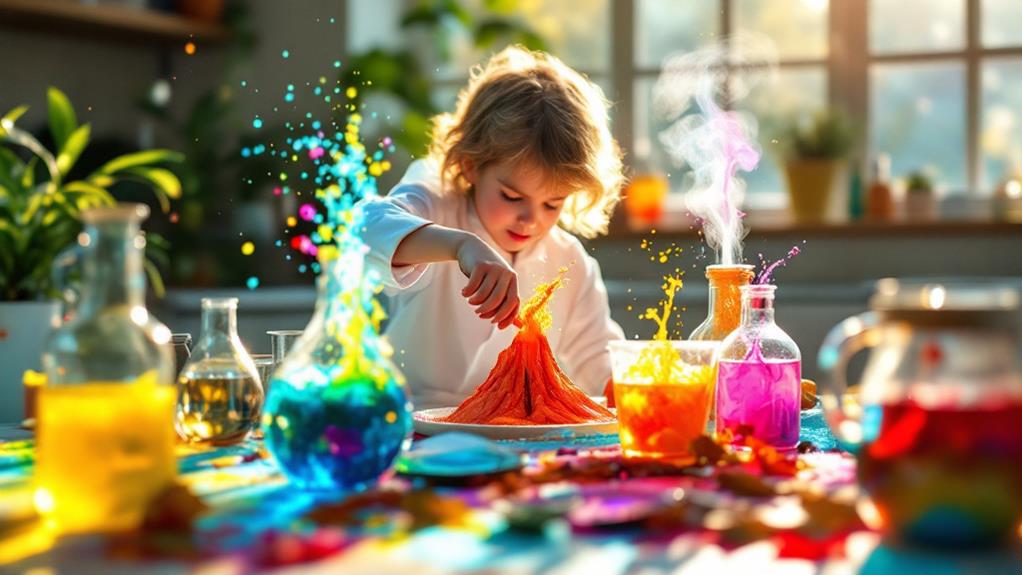
Creating a homemade volcano eruption is both thrilling and educational for kids. It's a fantastic hands-on activity that brings science to life right in your kitchen or backyard. To start, gather the crucial volcano materials: baking soda, vinegar, dish soap, and food coloring. You'll also need a small plastic cup and some modeling clay or playdough to shape the volcano. These simple items set the stage for an unforgettable eruption reaction.
Begin by molding the clay around the cup to form your volcano's structure. Make sure the cup's opening is at the top, mimicking a real volcano's vent. Next, fill the cup halfway with baking soda and add a few drops of dish soap and food coloring for a lively effect. When you're ready for the eruption, pour vinegar into the cup and watch as the fizzy lava flows down the sides. The eruption reaction is a result of the chemical interaction between the baking soda and vinegar, producing carbon dioxide gas. This experiment not only fascinates kids but also introduces them to basic chemical reactions in a fun, engaging way. So, grab those volcano materials and create your own thrilling volcanic adventure!
Rainbow in a Glass
With a bit of creativity and a few household ingredients, you can make a mesmerizing rainbow in a glass that will captivate kids. This simple experiment is a fantastic way to investigate color mixing and light refraction. To get started, you'll need sugar, water, food coloring, and a clear glass or jar.
Begin by preparing four cups of water, each with different amounts of sugar: one with no sugar, one with two tablespoons, another with four tablespoons, and the last with six tablespoons. Stir the sugar until fully dissolved. Add a few drops of different food coloring to each cup. Now comes the magic part—layering the colors.
Starting with the most sugary solution, slowly pour it into the glass. Carefully add each subsequent layer, using the back of a spoon to prevent them from mixing too quickly. The varying sugar concentrations create different densities, allowing the colors to stack rather than blend.
As the light shines through your glass, you'll witness a stunning display of light refraction, resulting in a lively, layered rainbow. This experiment not only teaches scientific concepts but also brings a splash of color to learning.
Magic Milk Colors
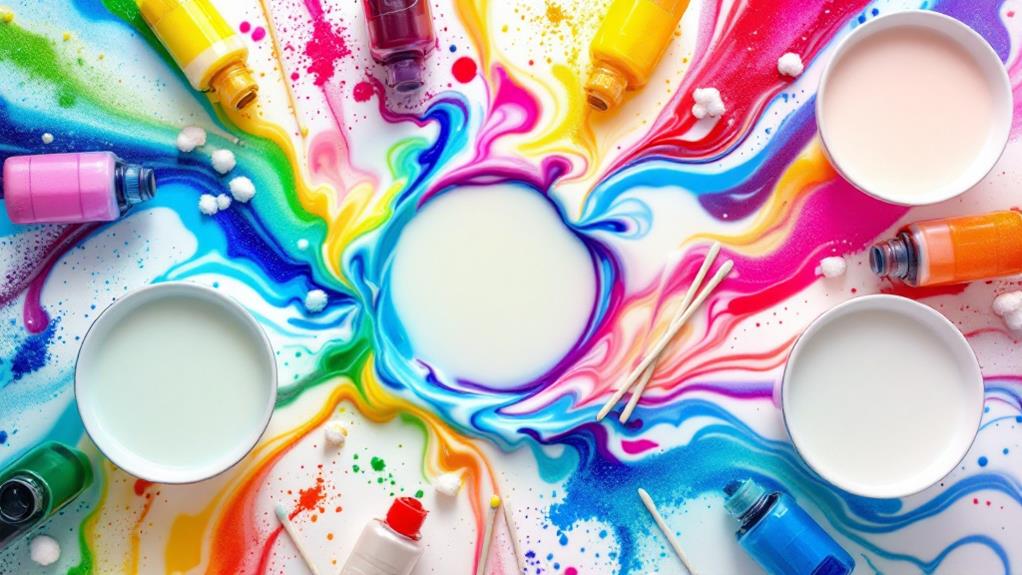
For a splash of color and science, try the Magic Milk Colors experiment. It's a fun and simple way to investigate how a milk reaction can create beautiful color mixing effects. Initially, gather your materials: a shallow dish, whole milk, food coloring, and dish soap. Pour enough milk into the dish to cover the bottom, then add several drops of different food coloring near the center.
Watch as the colors float on the surface, but the real magic happens with the next step. Dip a cotton swab into a bit of dish soap and gently touch it to the milk's surface. Instantly, you'll see the colors burst and swirl around due to a fascinating milk reaction. The dish soap breaks down the fat in the milk, causing the colors to mix and move in mesmerizing patterns.
This experiment is a fantastic way to observe color mixing in action and learn about the properties of milk. It's also a great opportunity to discuss concepts like surface tension and chemical reactions with kids. With just a few household items, you can transform a simple kitchen ingredient into an enchanting science lesson.
Baking Soda Balloons
Have you ever wondered how you can inflate a balloon without using your breath? Here's a simple science experiment that'll amaze and educate you about balloon inflation through a gas reaction. All you need are a few household items: baking soda, vinegar, a balloon, and an empty plastic bottle.
First, pour some vinegar into the plastic bottle, filling it about a third of the way. Next, use a funnel to add a few tablespoons of baking soda into the uninflated balloon. Carefully stretch the opening of the balloon over the mouth of the bottle, making sure not to spill the baking soda into the vinegar just yet.
When you're ready, lift the balloon, allowing the baking soda to drop into the vinegar. Watch as the magic happens! A chemical reaction occurs, producing carbon dioxide gas. This gas fills the bottle and escapes into the balloon, causing balloon inflation without a single breath from you.
This experiment is a fun and educational way to learn about gas reactions and chemical processes. Plus, it's a great opportunity to investigate the principles of science right at your kitchen table. Enjoy watching your balloon inflate and learning as you go!
Floating Egg Experiment

Curious how density works? You can investigate this fascinating concept with a simple Floating Egg Experiment. You'll need just a few ingredients: a raw egg, water, and salt. Initially, fill a glass with plain water and gently place the egg in it. Notice how the egg sinks to the bottom? That's because the egg's density is greater than the water's. But don't worry, you're about to change that with a little science magic!
Now, remove the egg and gradually add salt to the water, stirring until it dissolves. Place the egg back into the salty water and watch as it begins to rise. This happens because the salt increases the water's density, creating a balance where the egg's density is now less than the water's. That's egg buoyancy in action!
Invisible Ink Messages
After examining the wonders of density with the Floating Egg Experiment, let's turn our attention to the world of secret communication with Invisible Ink Messages. This fun activity allows you to create hidden notes that only become visible under special conditions. To get started, you'll need some citrus juice, like lemon or lime, as it serves as your invisible ink.
First, squeeze a small amount of citrus juice into a bowl. Using a cotton swab or a small brush, write your secret message on a piece of white paper. The juice will dry, leaving behind a seemingly blank sheet. But don't worry—your message is safe and sound.
To reveal the secret messages, you'll apply heat. Carefully hold the paper close to a light bulb or gently iron over it with a warm iron (make sure an adult is helping). The heat will cause the citrus juice to oxidize and turn brown, revealing your hidden message. This happens because the acid in the citrus juice weakens the paper fibers, making them burn more easily. Now, you can share your revelations with friends and investigate more creative ways to use invisible ink!
Dancing Raisins Activity
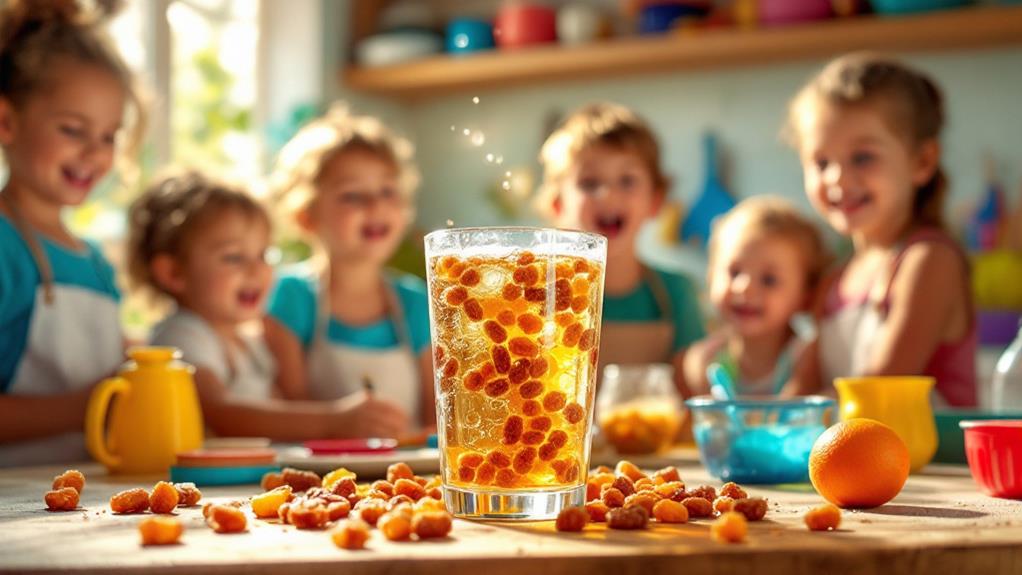
In this exciting experiment, you'll bring raisins to life and watch them dance! You'll need just a few simple items: a clear glass, some carbonated water, and a handful of raisins. Begin by filling the glass with carbonated water, then drop in the raisins. Now, observe the intriguing raisin reaction.
What's happening here? It's all about buoyancy basics. The raisins initially sink because they're denser than the water. However, the carbon dioxide bubbles in the carbonated water start to cling to the raisins' rough surfaces. As more bubbles attach, they increase the buoyancy of the raisins, causing them to rise to the surface. Once they reach the top, the bubbles pop, and the raisins sink again, repeating this fascinating dance.
This activity not only makes science fun but also provides a clear demonstration of how buoyancy works. You can experiment by using different sodas or even try other small, light objects like pasta or popcorn kernels to see if the raisin reaction changes. By watching these everyday items defy gravity, you'll gain a hands-on understanding of buoyancy basics that's both educational and entertaining!
Static Electricity Tricks
Static electricity can be a fascinating and easy concept to investigate with just a few household items. You can examine the mysterious world of static cling and charged objects with some simple tricks. One classic experiment involves a balloon. Rub the balloon on your hair and watch it stand on end—it's a perfect example of hair raising due to static electricity. This happens because of friction effects, which transfer energy and charge the balloon.
Here are some fun tricks you can try:
- Balloon Experiment: Rub a balloon on your sweater, then stick it to a wall. Observe how the charged balloon stays in place due to electric fields.
- Conductivity Test: Charge a plastic comb by rubbing it with wool and use it to pick up small pieces of paper. Notice how some objects are attracted while others are not.
- Friction Effects: Create a static cling by rubbing a plastic rod with a cloth and watching how it attracts or repels light objects like tissue paper.
These experiments highlight how charged objects interact and how static electricity can be harnessed in playful ways. Understanding these concepts will give you a glimpse into the invisible forces that surround us every day.
Simple Water Filtration
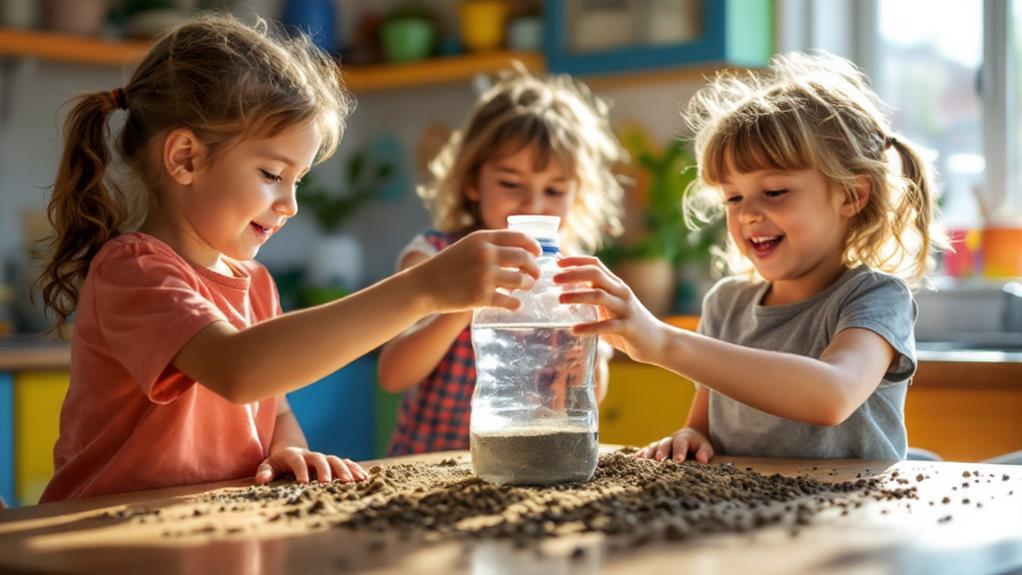
Exploring the wonders of science doesn't stop at static electricity; it extends to practical experiments like simple water filtration. With just a few household items, you can demonstrate water purification right at your kitchen table. This experiment is not only fun but also teaches crucial filtration techniques that mimic real-world processes used in clean water systems.
To start, gather a plastic bottle, sand, gravel, cotton balls, and a coffee filter. Cut the bottom off the bottle, turning it into a funnel. Place the coffee filter at the neck, followed by a layer of cotton balls, then sand, and ultimately gravel. Each layer plays a role in the filtration process, removing different types of impurities.
Fill a jar with dirty water—muddy if possible—and pour it through your homemade filter. Watch as the water drips clearer into a clean container below. While this won't make the water safe to drink, it demonstrates how natural materials can remove particles from water.
This activity isn't just about filtration; it's about understanding the significance of water purification in everyday life. By experimenting with filtration techniques, you're gaining valuable insights into how we keep our water clean.
Related posts