Simple Science Experiments Kids Can Do at Home
Science experiments are one of the best bonding activities you can do with your kids. It’s because children are born scientists and they are always experimenting with something like blowing bubbles when taking a bath or stacking blocks into a tower then destroying it after. You might think that science can be a little intimidating, but you don’t really need to go through years of school or work to be able to come up with great science experiments.
If you want to keep your kids busy at home during weekends or while they’re on vacation from school, then you’re in the right place. Today, we are going to share with you some of the simple science experiments we found that kids can do at home.
1. Orange Fizz
For this experiment, the things needed are, an orange or clementine and ½ teaspoon of baking soda.
The procedure is very easy. First, cut the orange into slices or peel it into separate sections. Make sure to help the kids out when using a knife. After that, dip a slice or section into the baking soda. You and your kids try to take a bite. As you chew, you will feel it start to bubble in your mouth.
This happens because when acids and bases mix, you will get a chemical reaction. An orange is filled with citric acid while baking soda is a base which is the opposite of an acid. When they mix, it makes millions of carbon dioxide bubbles which is the same mixture that makes soda so fizzy. But do not try to eat a lot because it can give you a tummy ache.
2. Balloon Pop! Not!
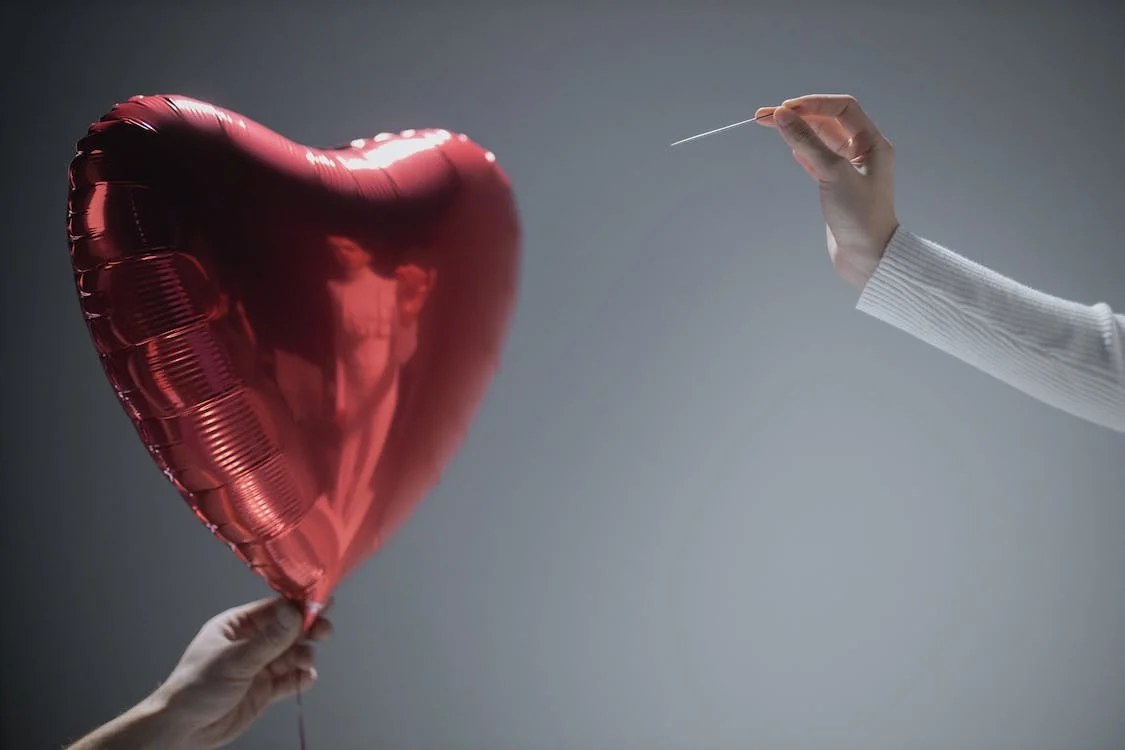
For this experiment, the things needed are, a balloon, two pieces of tape about 2 inches in length each, and a small needle or push pin with adult supervision.
The first step is to blow up the balloon and then use the two pieces of tape to mark an “X” on it. After that, help your child push the needle through the middle of the “X” mark. Leave the needle in and see how long it will take before the balloon pops.
A balloon pop due to catastrophic crack propagation. This means that the hole in the balloon is widening that’s why it pops and not because the air is slowly going out. When the hole gets bigger, it rips and eventually causes the balloon to pop. But in this experiment, the tape slows down the process of popping. You can also do this experiment by using different kinds of balloons and blowing them up in different sizes.
3. Make It Rain
For this experiment, the materials needed are a glass canning jar, a ceramic plate, hot water, and 4 ice cubes.
First, guide your children in pouring two inches of the hot water into the canning jar. After that, cover the jar with the ceramic plate face up. Leave it for 3 minutes. After 3 minutes, place the ice cubes on the plate. Observe the homemade water cycle that you just created.
The cold plate causes the moisture to form in the warm air which is inside the jar to condense. This forms water droplets as a result. This is also what happens in the atmosphere when warm and moist air rises and meets colder air high in the atmosphere. The water vapor condenses which forms rain that falls to the ground.
4. Storm in a Glass
To make a storm in a glass, you will need, shaving cream, a large glass, water, food coloring, and a spoon.
First, fill the glass with ½ water. Then, spray some shaving cream on top of the water to fill the glass to ¾ full. After that, use your finger or a spoon to spread the shaving cream evenly on top of the water. Its top should be flat. In a separate container, mix ½-cup of water with 10 drops of food coloring. After mixing, gently add the mixture, spoonful by spoonful, to the top of the shaving cream. Once it gets heavy, you can watch it storm.
On this experiment, the layer of shaving cream acts as the cloud. Just like clouds, it holds onto water, but once it can’t keep storing more, it will eventually get heavy. What happens next is the water falls as rain, snow, sleet, or hail.
5. Make a Rainbow in a Glass
The materials needed for this experiment are Skittles candies, water, a mug, 5 separate cups, a tablespoon, a clear glass, and a dropper.
First, separate the Skittles into the 5 cups in these amounts: 10 purple, 8 green, 6 yellow, 4 orange, and 2 red. After separating them, heat a mug of water in the microwave for one and a half minute. Help your child with this, especially in removing the water from the microwave. After that, measure and pour two tablespoons of hot water into each cup of Skittles then stir carefully so that the water will not splash out. Then leave the cups to cool first and stir them every 10 minutes or so until the Skittles are dissolved and the water is room temperature.
Once the cups are cooled, add the colored water from the five cups to the clear glass using the dropper. Start with purple, and then green, then yellow, orange, and put the red color last. Be careful and do it slowly so that the layers don’t mix. You will see that you’ve just made a rainbow!
6. Invisible Extinguisher
For this experiment, you will need a tall drinking glass or a 16 oz. plastic cup, a short drinking glass or a 9 oz. plastic cup, a tea light, and some matches or lighter.
Put a tea light in the short drinking glass. Then use a match or lighter to light the tea lights in the glass. After that, pour ½ cup of vinegar in the tall glass. Then, slowly sprinkle ½ tablespoon of baking soda into the tall glass with the vinegar. You can dump it all at once but expect a big eruption. Wait for the reaction to slow down until the foam disappears. Then, tilt the tall glass slowly on its side over the tea light. The flame should go out. If it does not, pour another scoop of baking soda into the vinegar and repeat the previous steps.
Mixing vinegar and baking soda results in a gas called Carbon Dioxide or CO2. The CO2 sinks in the cup and stays there floating like a normal mix of air. It means that you have extinguished the fire using a cup full of CO2.
7. Solar Eclipse Kit
For this experiment, you will need a shoebox, scissors, black card, yellow tissue paper, tape, and toothpick.
At each end of the shoebox, cut a window and then cut a slit across the width or top of the box lid. Then, cut a square of black card that is small enough to slide into the slit in the box. From the middle of the card, cut out a circle and stick yellow tissue paper over the hole. After that, stick the toothpick to the black card circle which you will use as the Moon. Lastly, slide the square of black card into the slot on the box and hold the box up to the light. Look through the box to see your Sun.
8. Vinegar Pops
In this experiment, the things needed are an ice tray, vinegar, food coloring, and baking soda.
First, fill up the ice tray with vinegar and add some food coloring. Place the ice tray in the freezer and let it freeze for four to six hours. Once it is frozen, pop out your Vinegar Pops and dip them in a plate of baking soda. In a few minutes, you will see your Vinegar Pops bubbling.
This happens because when an acid like vinegar mixes with a base like baking soda, there is a chemical reaction that releases carbon dioxide and results in bubbling.
9. Black Light Blue Beverage
For this experiment, the things needed are black light, tonic water, a transparent drinking glass, sprite or other light colored citrus drink, and ice.
Get the drinking glass and pour some tonic water, citrus drink, and ice into it. Then, turn on the black light and shine it on the drink. Watch the drink turn blue! You can also drink it if you want.
The drink shines in blue color because there’s an ingredient called quinine in the tonic water. It is only a very small amount but when it interacts with black light, it appears blue.
10. Egg Drop
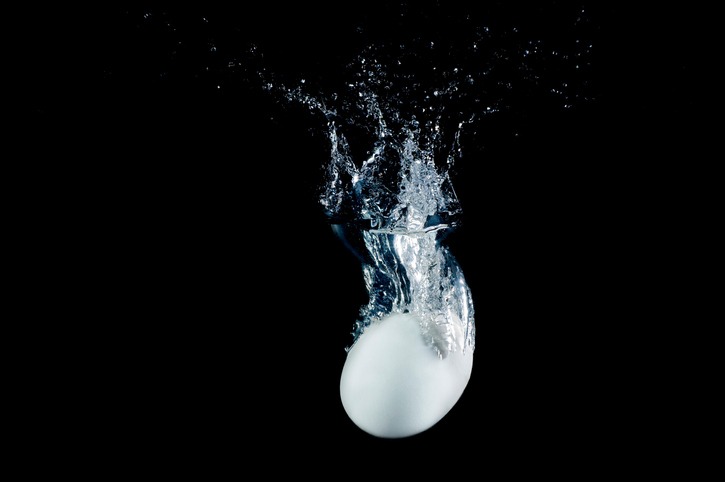
The materials needed for this experiment are 20 oz. drinking glass, water, pie pan, cardboard toilet paper roll, egg, and space where you can make a mess in case you break an egg.
First, fill the drinking glass with water. Then, place a pie pan right side up on top of the glass. In the middle of the pie pan, place the cardboard toilet paper roll vertically. After that, balance the egg on top of the toilet paper roll so that it will be lying on its side. One it is balanced, hit the side of the pie pan with your hand with one swift and quick motion. This should be a horizontal swing and enough force is needed to push it off the glass. You will see the egg fall into the glass unbroken.
This experiment is all about inertia. It’s because the egg will stay at rest unless an outside force acts upon it which is your hand. Once you move the pie pan with your hand, gravity will take over and will pull the egg down into the glass of water.
These are some of the simple science experiments we found that your kids can do at home. They will surely enjoy doing these experiments with you. Which of these would you like to try soon?
Related posts